Key Takeaways
- Old tablets can be transformed into smart home hubs with Google Assistant & widgets.
- Minimum requirements: device to run Android 9 or newer for smart home apps.
- Tablets and old phones can be repurposed to become smart home displays.
Smart devices are becoming a cornerstone of every day activity — and even of the home. They’re gaining more ground when small items like light bulbs, bigger devices like vacuums, or even every last speaker in your home comes with smart features. It’s easy to see why — the convenience of using voice commands or convenient apps to manage your home devices is a gift of modernity that just keeps on giving.
That said, even though an app on your phone is just a couple taps away, a great smart home implementation also needs a stationary hub for all your devices that doubles as a smart display. You can place it in a corridor or another easy-to-access space and, in turn, make turning specific devices on or off extremely easy on the fly.
Even though devices such as the Google Nest Hub are extremely useful and carry quite an accessible price tag, nothing beats getting such a display for free. Fortunately for you, if you have an old tablet taking up residence in a drawer somewhere, you can easily enlist it to become your smart home hub.
Tablets, in general, have an impressively long lifespan. You can first use them as multimedia machines for many years, as watching YouTube, Netflix, and browsing web pages isn’t as demanding as some of the things you do on your phone. And even if they get a bit too sluggish for all that, with the help of just a few odds and ends, you can easily turn them into your smart home hub.
Getting started
Give your tablet a new life
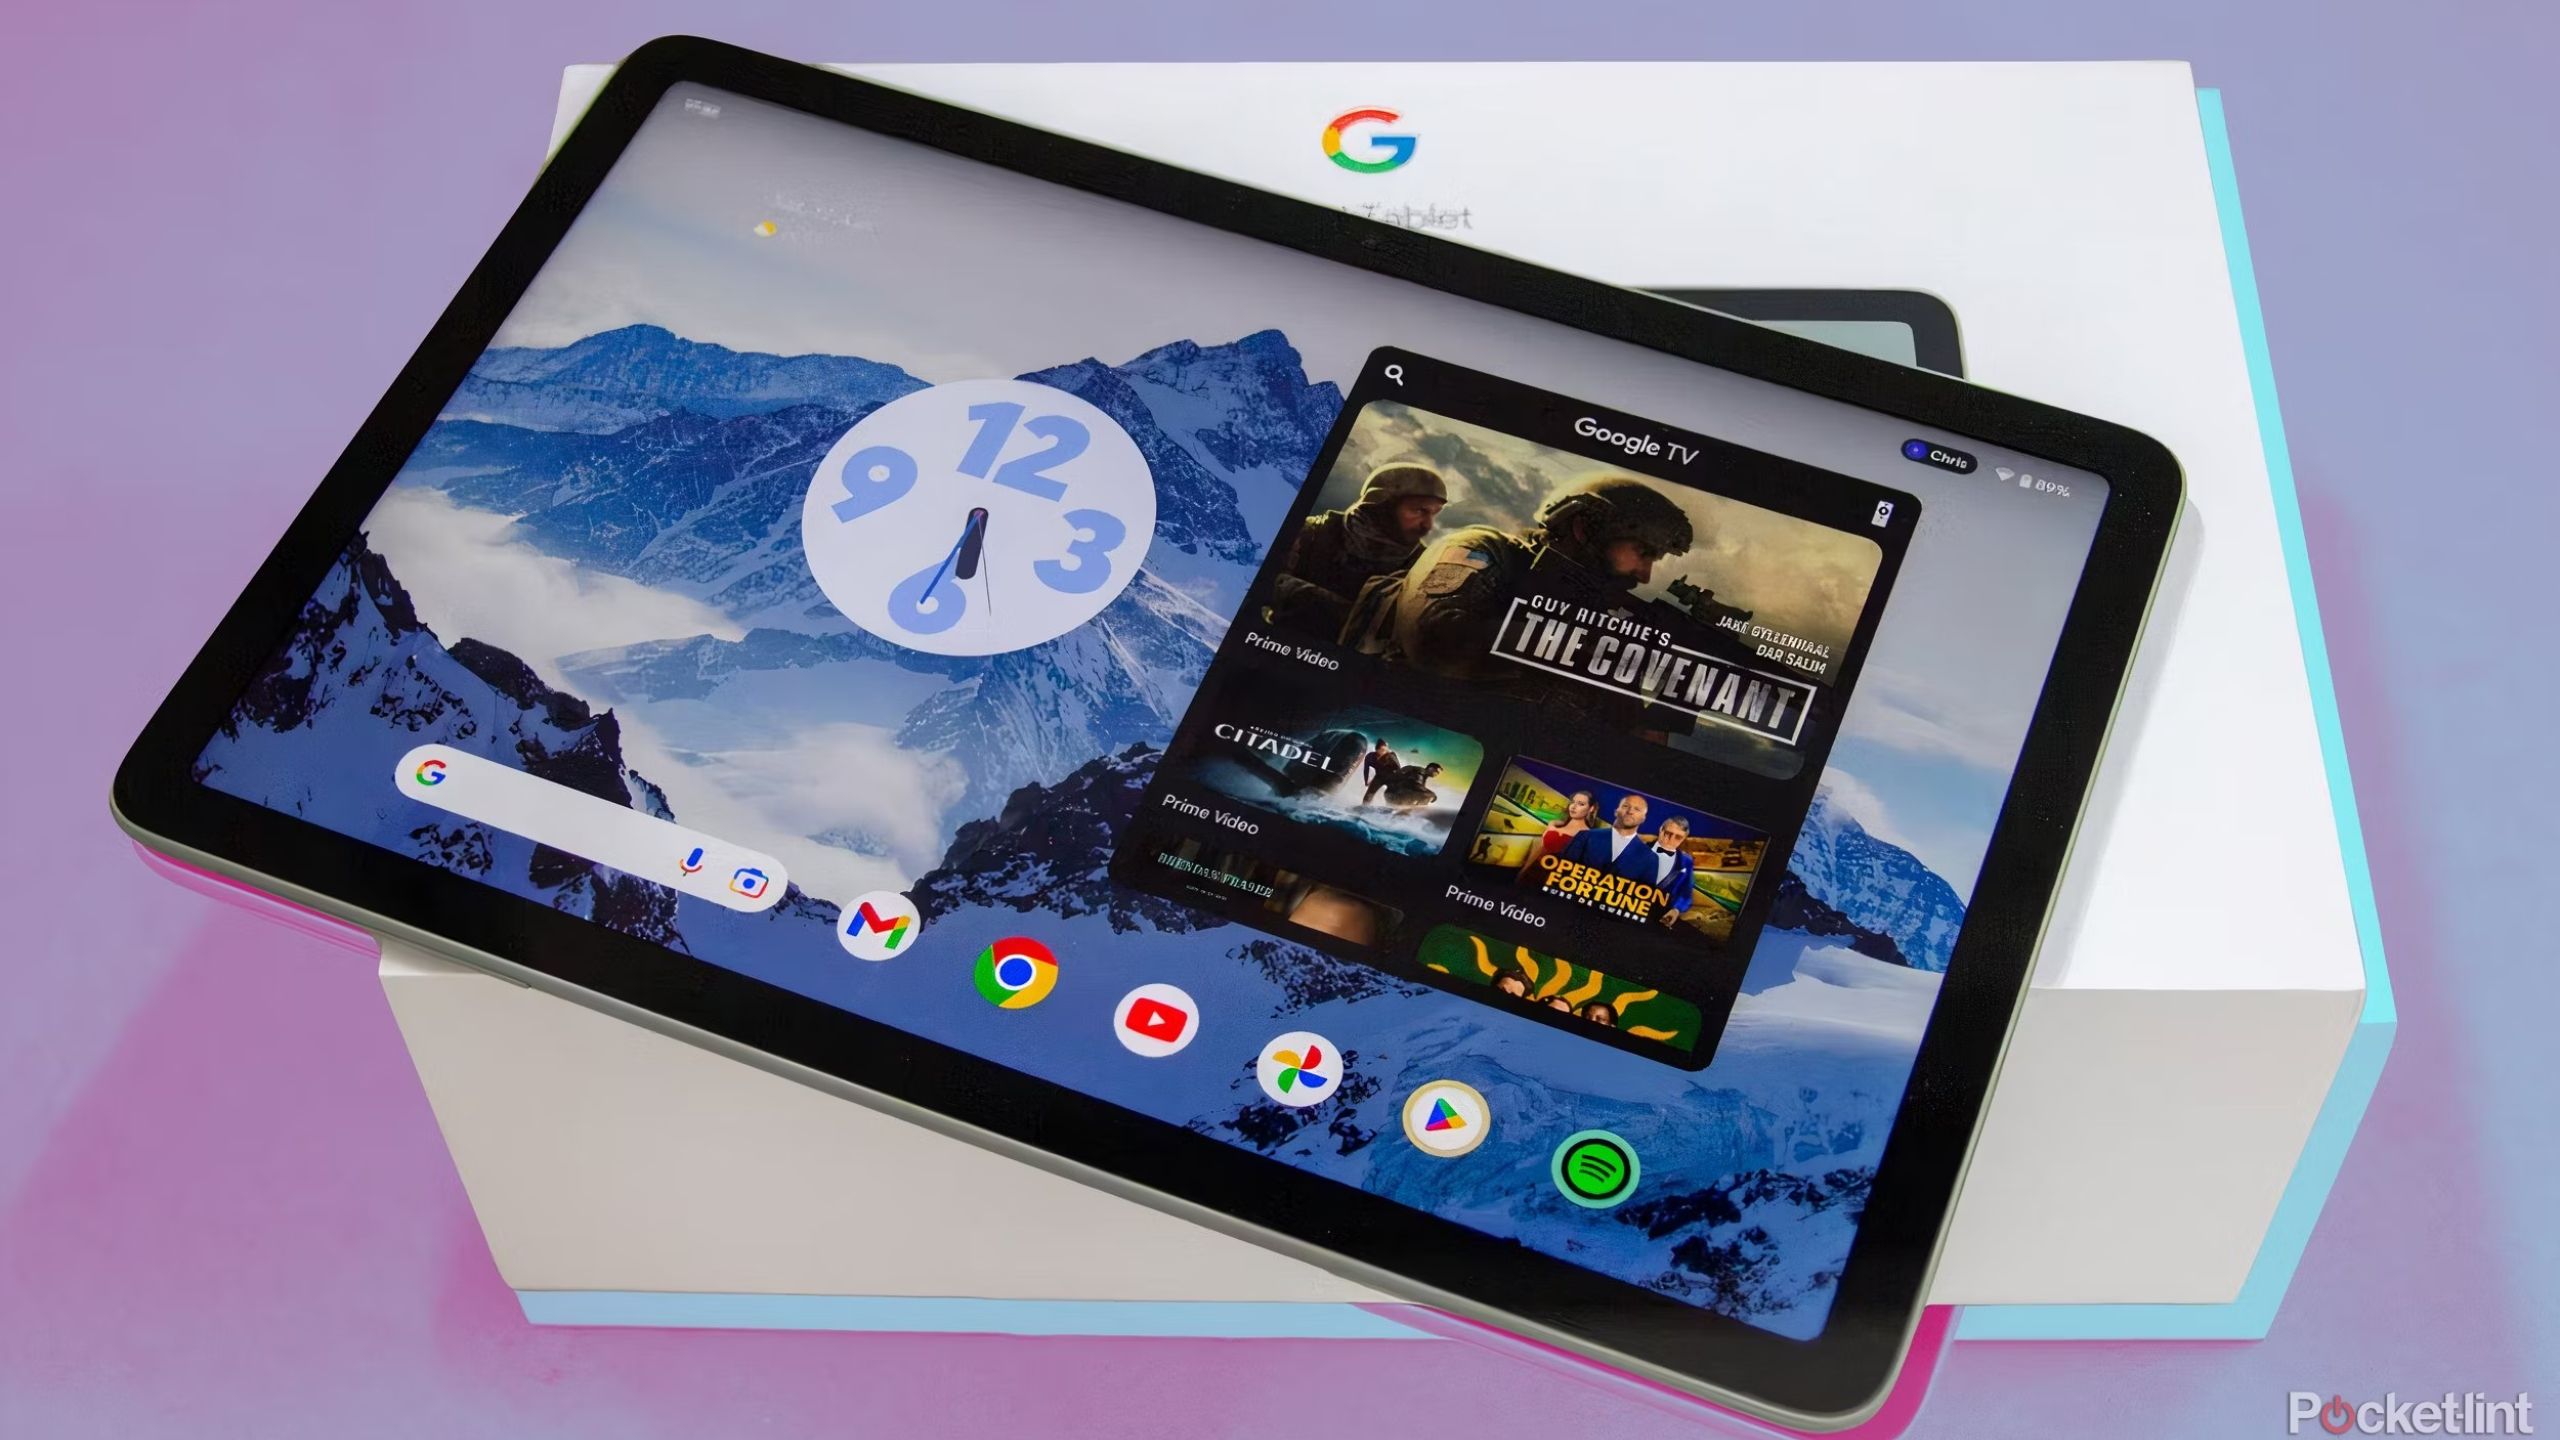
In this guide, I’ll show you how to turn your old Android tablet into a smart home hub. This involves adding widgets for all your smart devices and enabling Google Assistant’s voice recognition so it can answer all your queries. You can also top it off by turning the old tablet into a photo frame, allowing you to show off your favorite photos when your self-made smart home hub is not in use.
Get an old tablet ready
The most important part of this setup will be the tablet itself, so you’ll need to get it ready for the whole process. Fortunately, it’s not a lot of hassle — all you need to do is log into your Google account and install a few apps.
Check if your tablet meets the minimum requirements
First, make sure that the tablet you want to use is fit for the job. I will be using Google Photos, Google Assistant, Google Home, and Action Blocks in this process, so your device must meet the minimum requirements for all of these. Fortunately, they are not very resource-intensive, so you only need to ensure that your tablet is running Android 9 or newer.
- Go to Settings.
- Scroll down until you see the About tablet/About this device tab.
- Next to Android version, make sure that it says Android 9 or newer.
Make sure that your software says Android 9 or newer.
Perform a factory reset
Tyler Franta / Unsplash
This step might not be necessary, but it may breathe a bit of new life into your device, especially if it’s been through years of use already. If you’re sure you want to use it just as a smart hub for now, and you’ve already downloaded all the important files and photos from it, factory resetting it and giving it a fresh OS install might make it a bit less sluggish. Check out our article below to learn all about factory resetting your Android device.
Log into your Google account and install the required apps
Unsplash
After factory resetting your tablet, it’s time to set it up again. During the setup process, it’s important to connect it with the same Google account you use for your Google Home and Google Assistant — this will make linking all your smart appliances much easier.
Once the setup is complete, you’ll need to install all the required smart home software. The essentials here are Google Photos, Google Home, Google Assistant, and Action Blocks. However, you might also need to install proprietary smart home apps if they’re required to connect your smart devices to Google Home.
After installing all of these apps, log in with your Google account and check if everything is connected and if your smart appliances are detected.
Set up Google Assistant
Voice commands make all the difference
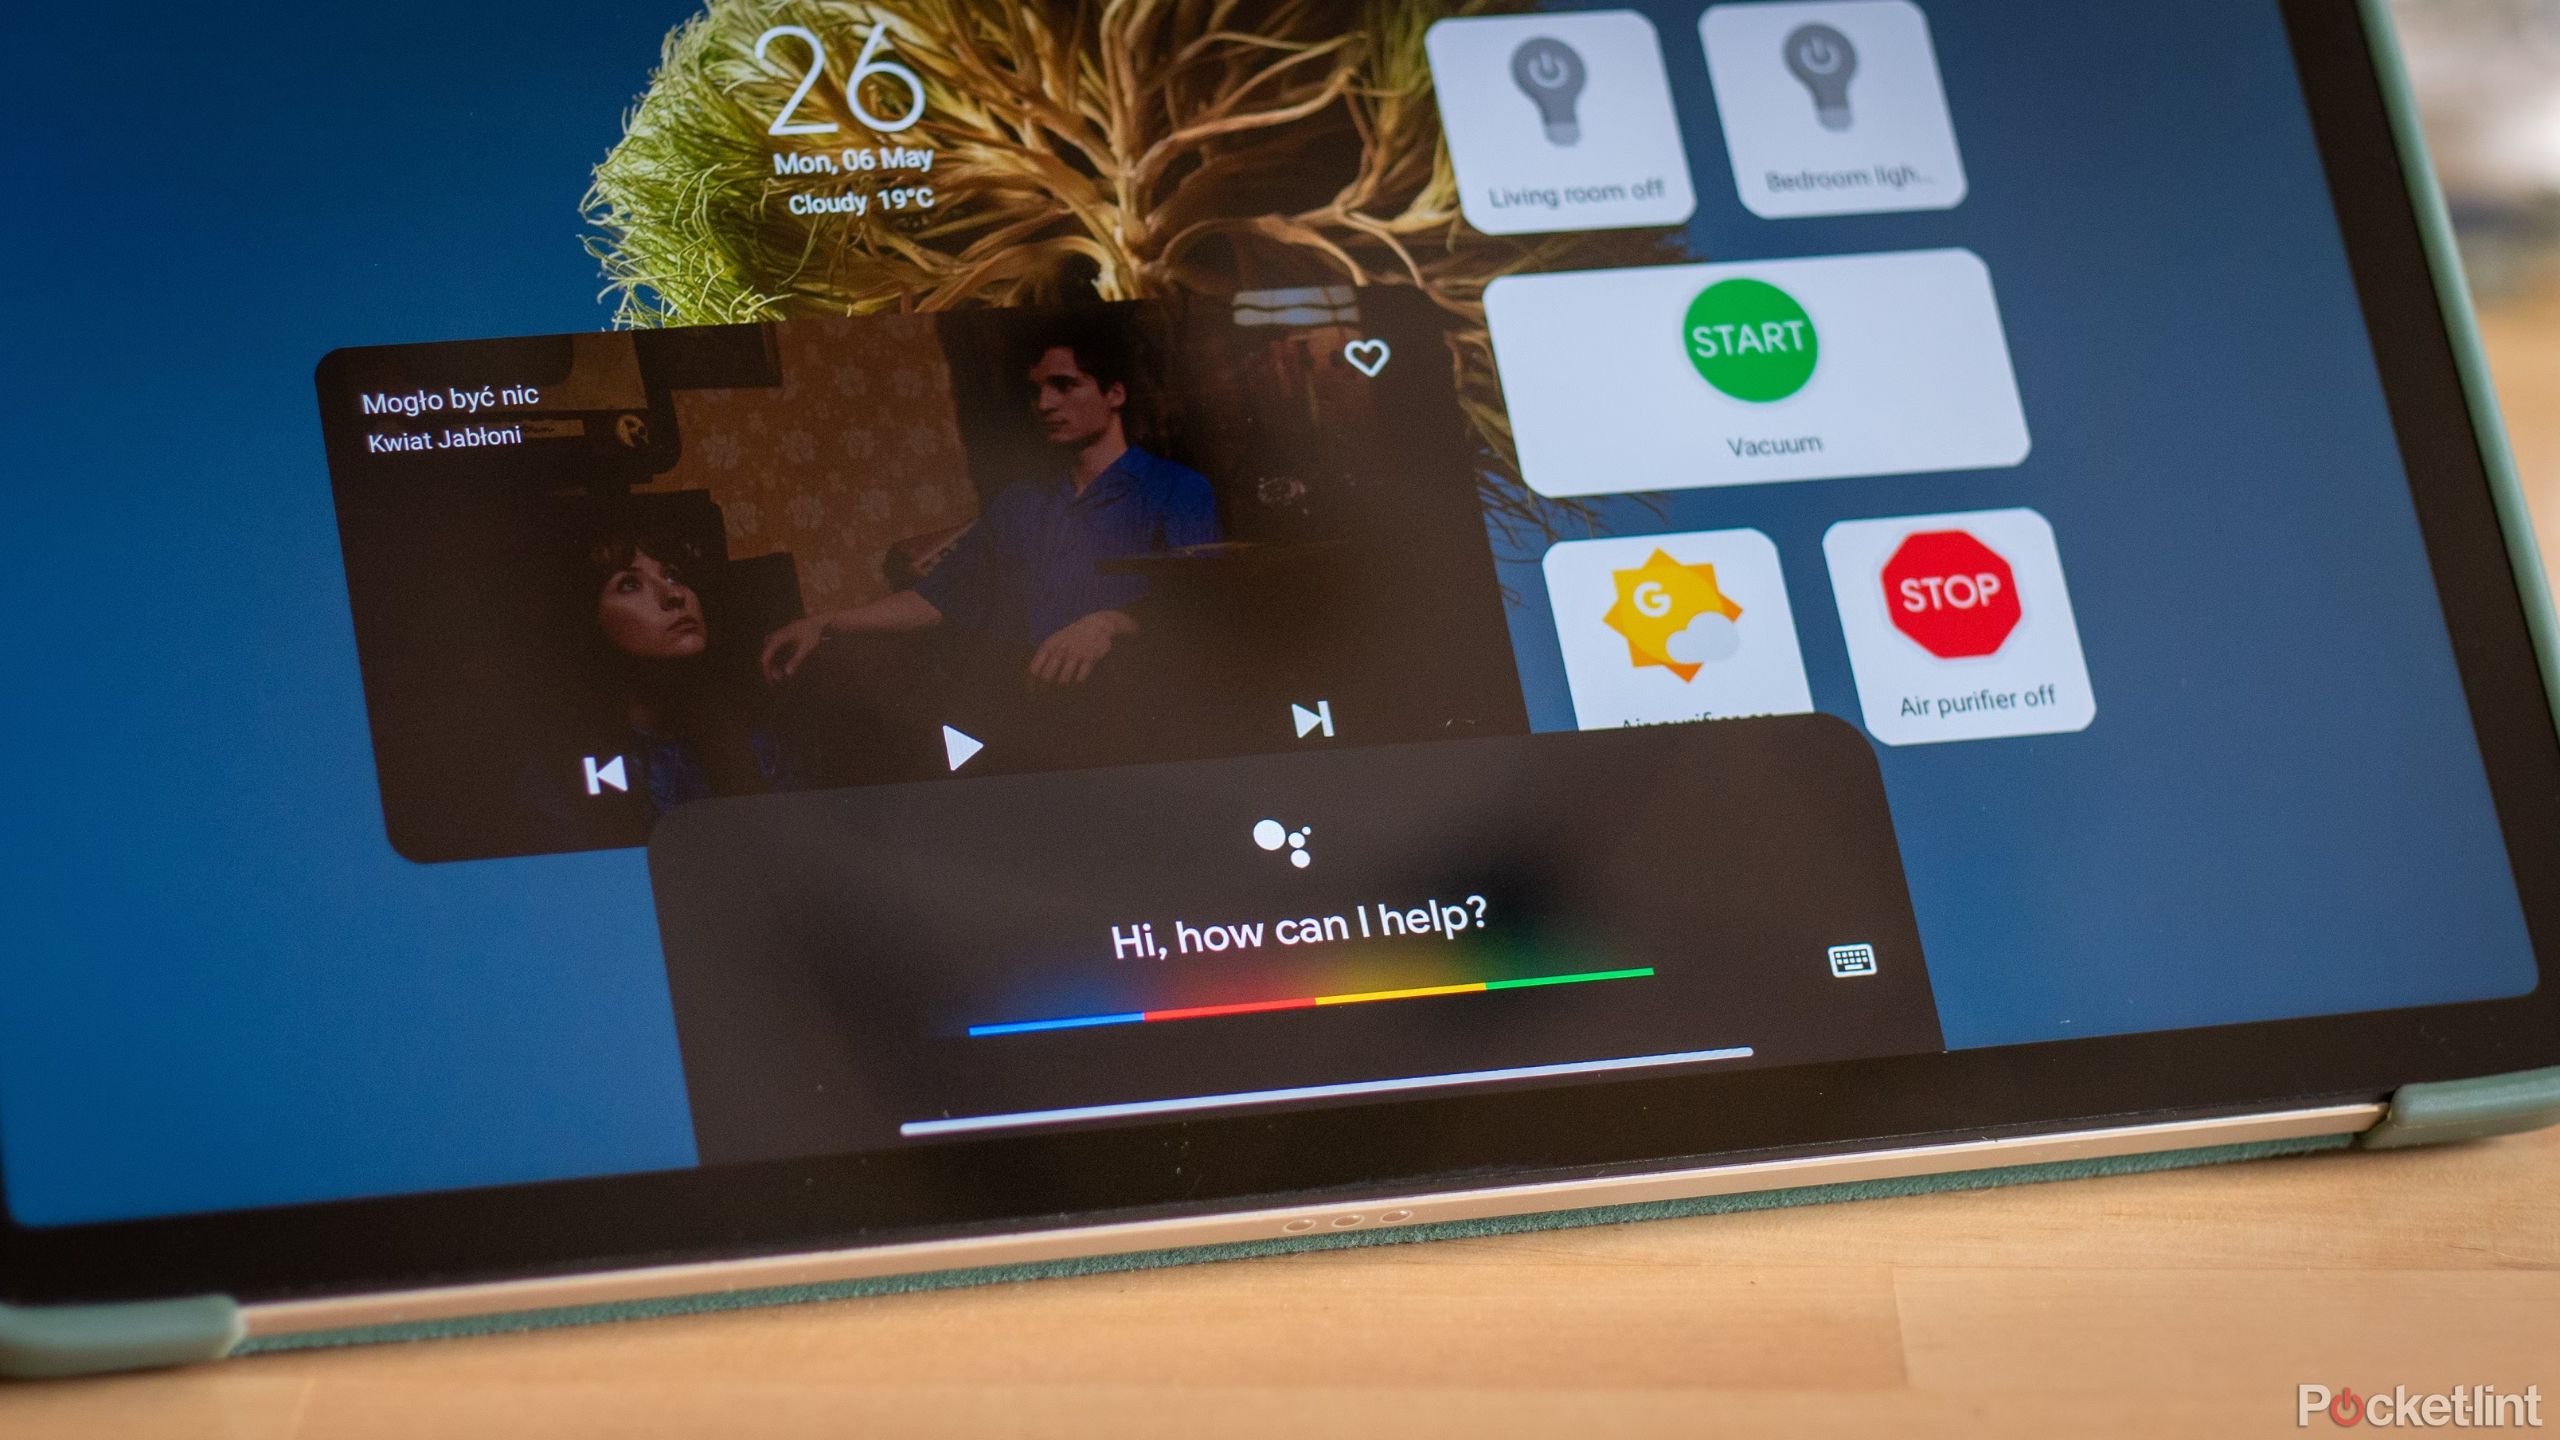
A smart home hub would not be complete without a voice assistant. Fortunately, your Android device already comes with one of the best already built-in — Google Assistant. All you need to do is enable it, and to enhance the experience, turn on voice recognition so it can listen to your commands even when the screen is off.
Turn on Google Assistant
First, you need to enable Google Assistant. Here’s how to go about it:
- Open the Google app on your Android device.
- Tap on your profile icon in the top right corner.
- Tap on Settings.
- Tap on Google Assistant.
- Scroll down until you see the General tab and tap on it.
- Tap on the toggle at the top to turn off Google Assistant.
Enable “Hey Google” detection
Once Google Assistant is enabled, you also want to let it listen to voice commands even with the screen off. Here’s how to turn that function on:
- Open the Google app on your Android device.
- Select your profile picture in the top right corner.
- Tap on Settings.
- Then, tap on Google Assistant tab.
- Choose Hey Google & Voice Match. It should be at the top of the page.
- Tap the toggle to turn off Hey Google.
Leverage widgets on the main screen
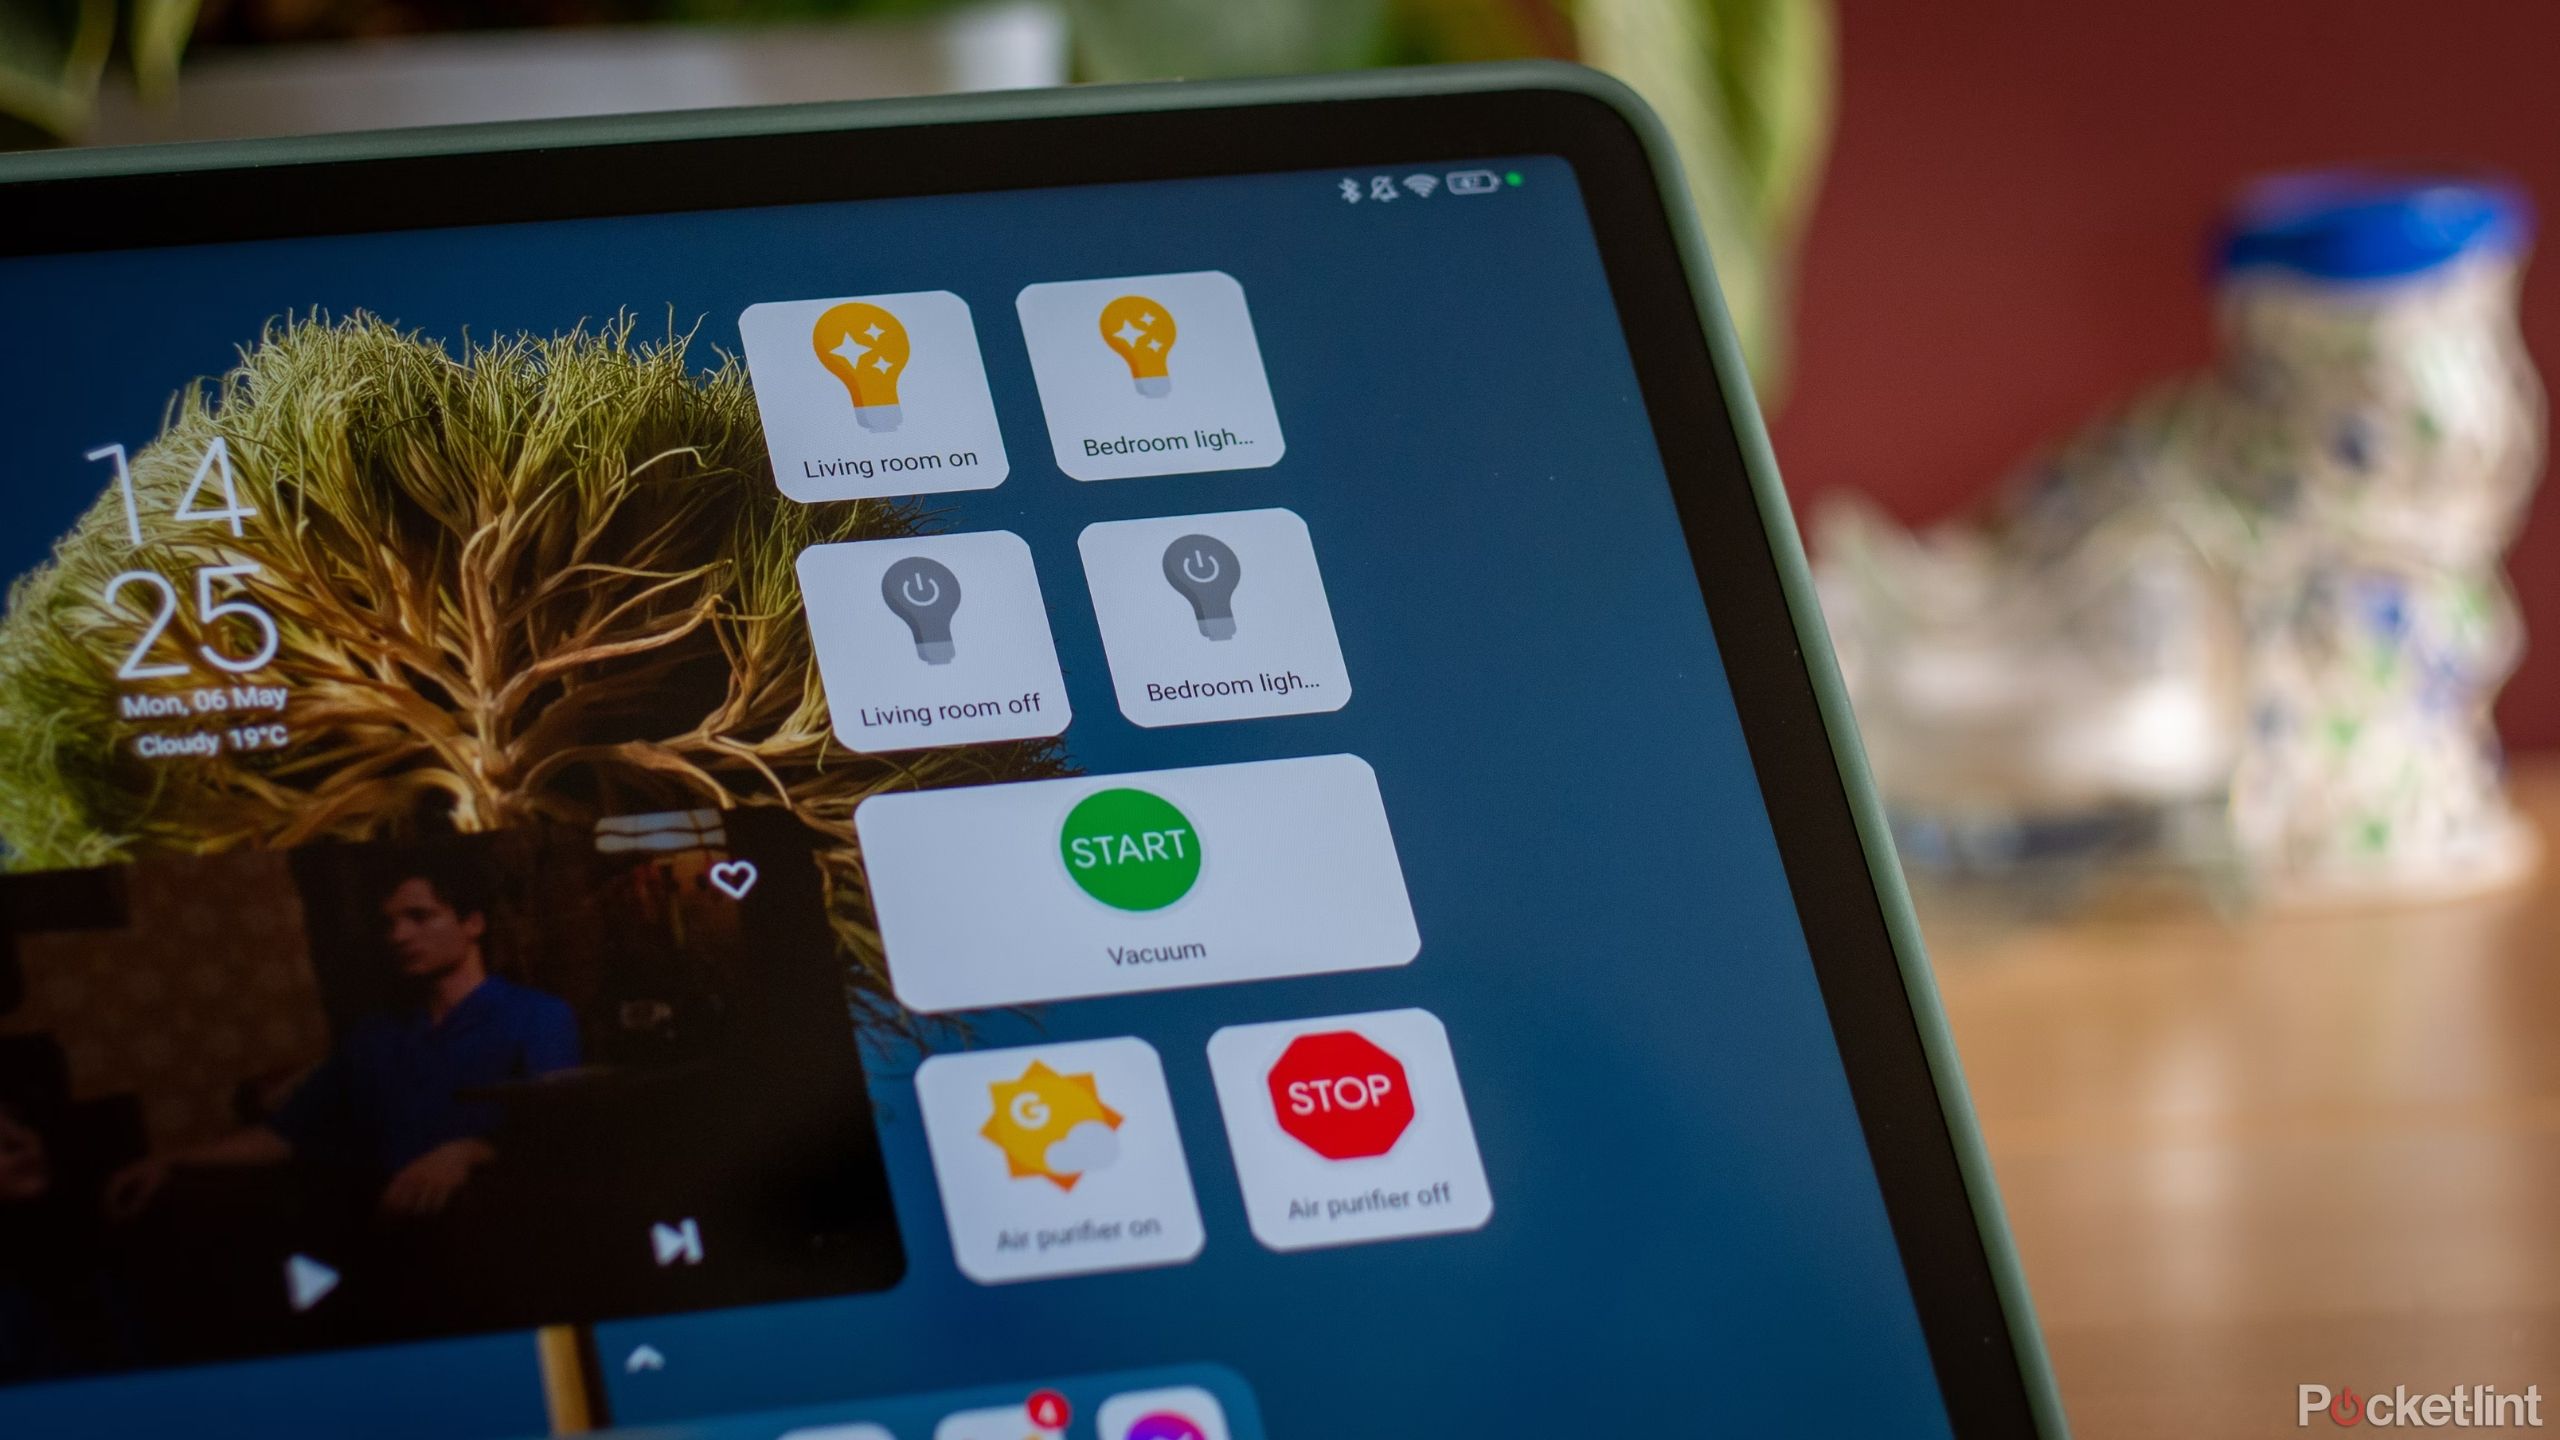
Now that your Google Assistant is ready, it’s time to set up the main screen of your smart home hub, and the best way to do it is by using widgets. You can, of course, use widgets from all the proprietary apps or use the Google Home hub that’s built into Android. However, for our purposes, I’ll be showcasing Action Blocks.
Set up Action Blocks
Action Blocks is an app created by Google that allows you to create widget-based shortcuts to all kinds of Google Assistant actions. Essentially, it allows you to write down a command for your Google Assistant and turn it into a widget that you can then place on your home screen. It helps automate a lot of things and is a lifesaver when setting up your smart home hub because it lets you turn any voice command into a button. Here’s how to create a custom action with Action Blocks—thanks to this feature, you’ll be able to create any widget you want:
- Open the Action Blocks app.
- At the bottom of the screen, tap Create action block.
- Choose Create custom action.
- In the Action field, write down a command that you’d normally say to the Google Assistant.
- Scroll down and click Test action to see if it works (note that you need to have your smart appliances connected to Google Home beforehand for this feature to work).
- When the test succeeds, tap Next to create a widget.
- Select an image and a name for this action block.
- Tap on Save action block to finish creating it.
- Go back to the home screen.
- Long press on the home screen to customize it.
- Choose the Widget menu.
- Add an Action Block widget to your home screen.
- Choose an action for this particular widget.
You can create as many actions and widgets as you please this way, so the possibilities really are endless.
Finishing touches
Of course, a main screen for a smart home hub cannot be filled only with buttons to turn your devices on or off. To be even more functional, you’ll want to add some other widgets to the main screen or maybe create a second screen dedicated to all the different features. Here are some of the most useful widgets you can use:
- Google’s At a Glance widget
- Weather widget
- Calendar widget
- Clock widget
- Music streaming service controls
- Your favorite social media widget
- Notes app widget
Of course, these are just some basic suggestions, and personalizing your screen with the apps that you like to keep an eye on is the best way of making your homemade smart home hub truly useful.
Use a photo slideshow
Add a personal touch to your space
Even though having a smart home hub at the ready is a great thing, you’re not always changing the lights in all your rooms or setting up other devices. That’s where having a photo slideshow set up comes into play. You can still use the tablet as a digital photo frame and give the room a more personal touch with all the family photos. Here’s how to turn one on in Google Photos:
- Open the Google Photos app.
- Tap the Library icon in the side menu.
- Tap on the album that you want to use as a slideshow.
- Tap on the first photo in the album.
- Next, choose the three dots icon in the upper right corner.
- In the pop-up menu, choose Slideshow.
Complete the setup with a stand or a wall mount
Keep your HQ in one place or make it portable
Amazon / JUBOR / Pocket-lint
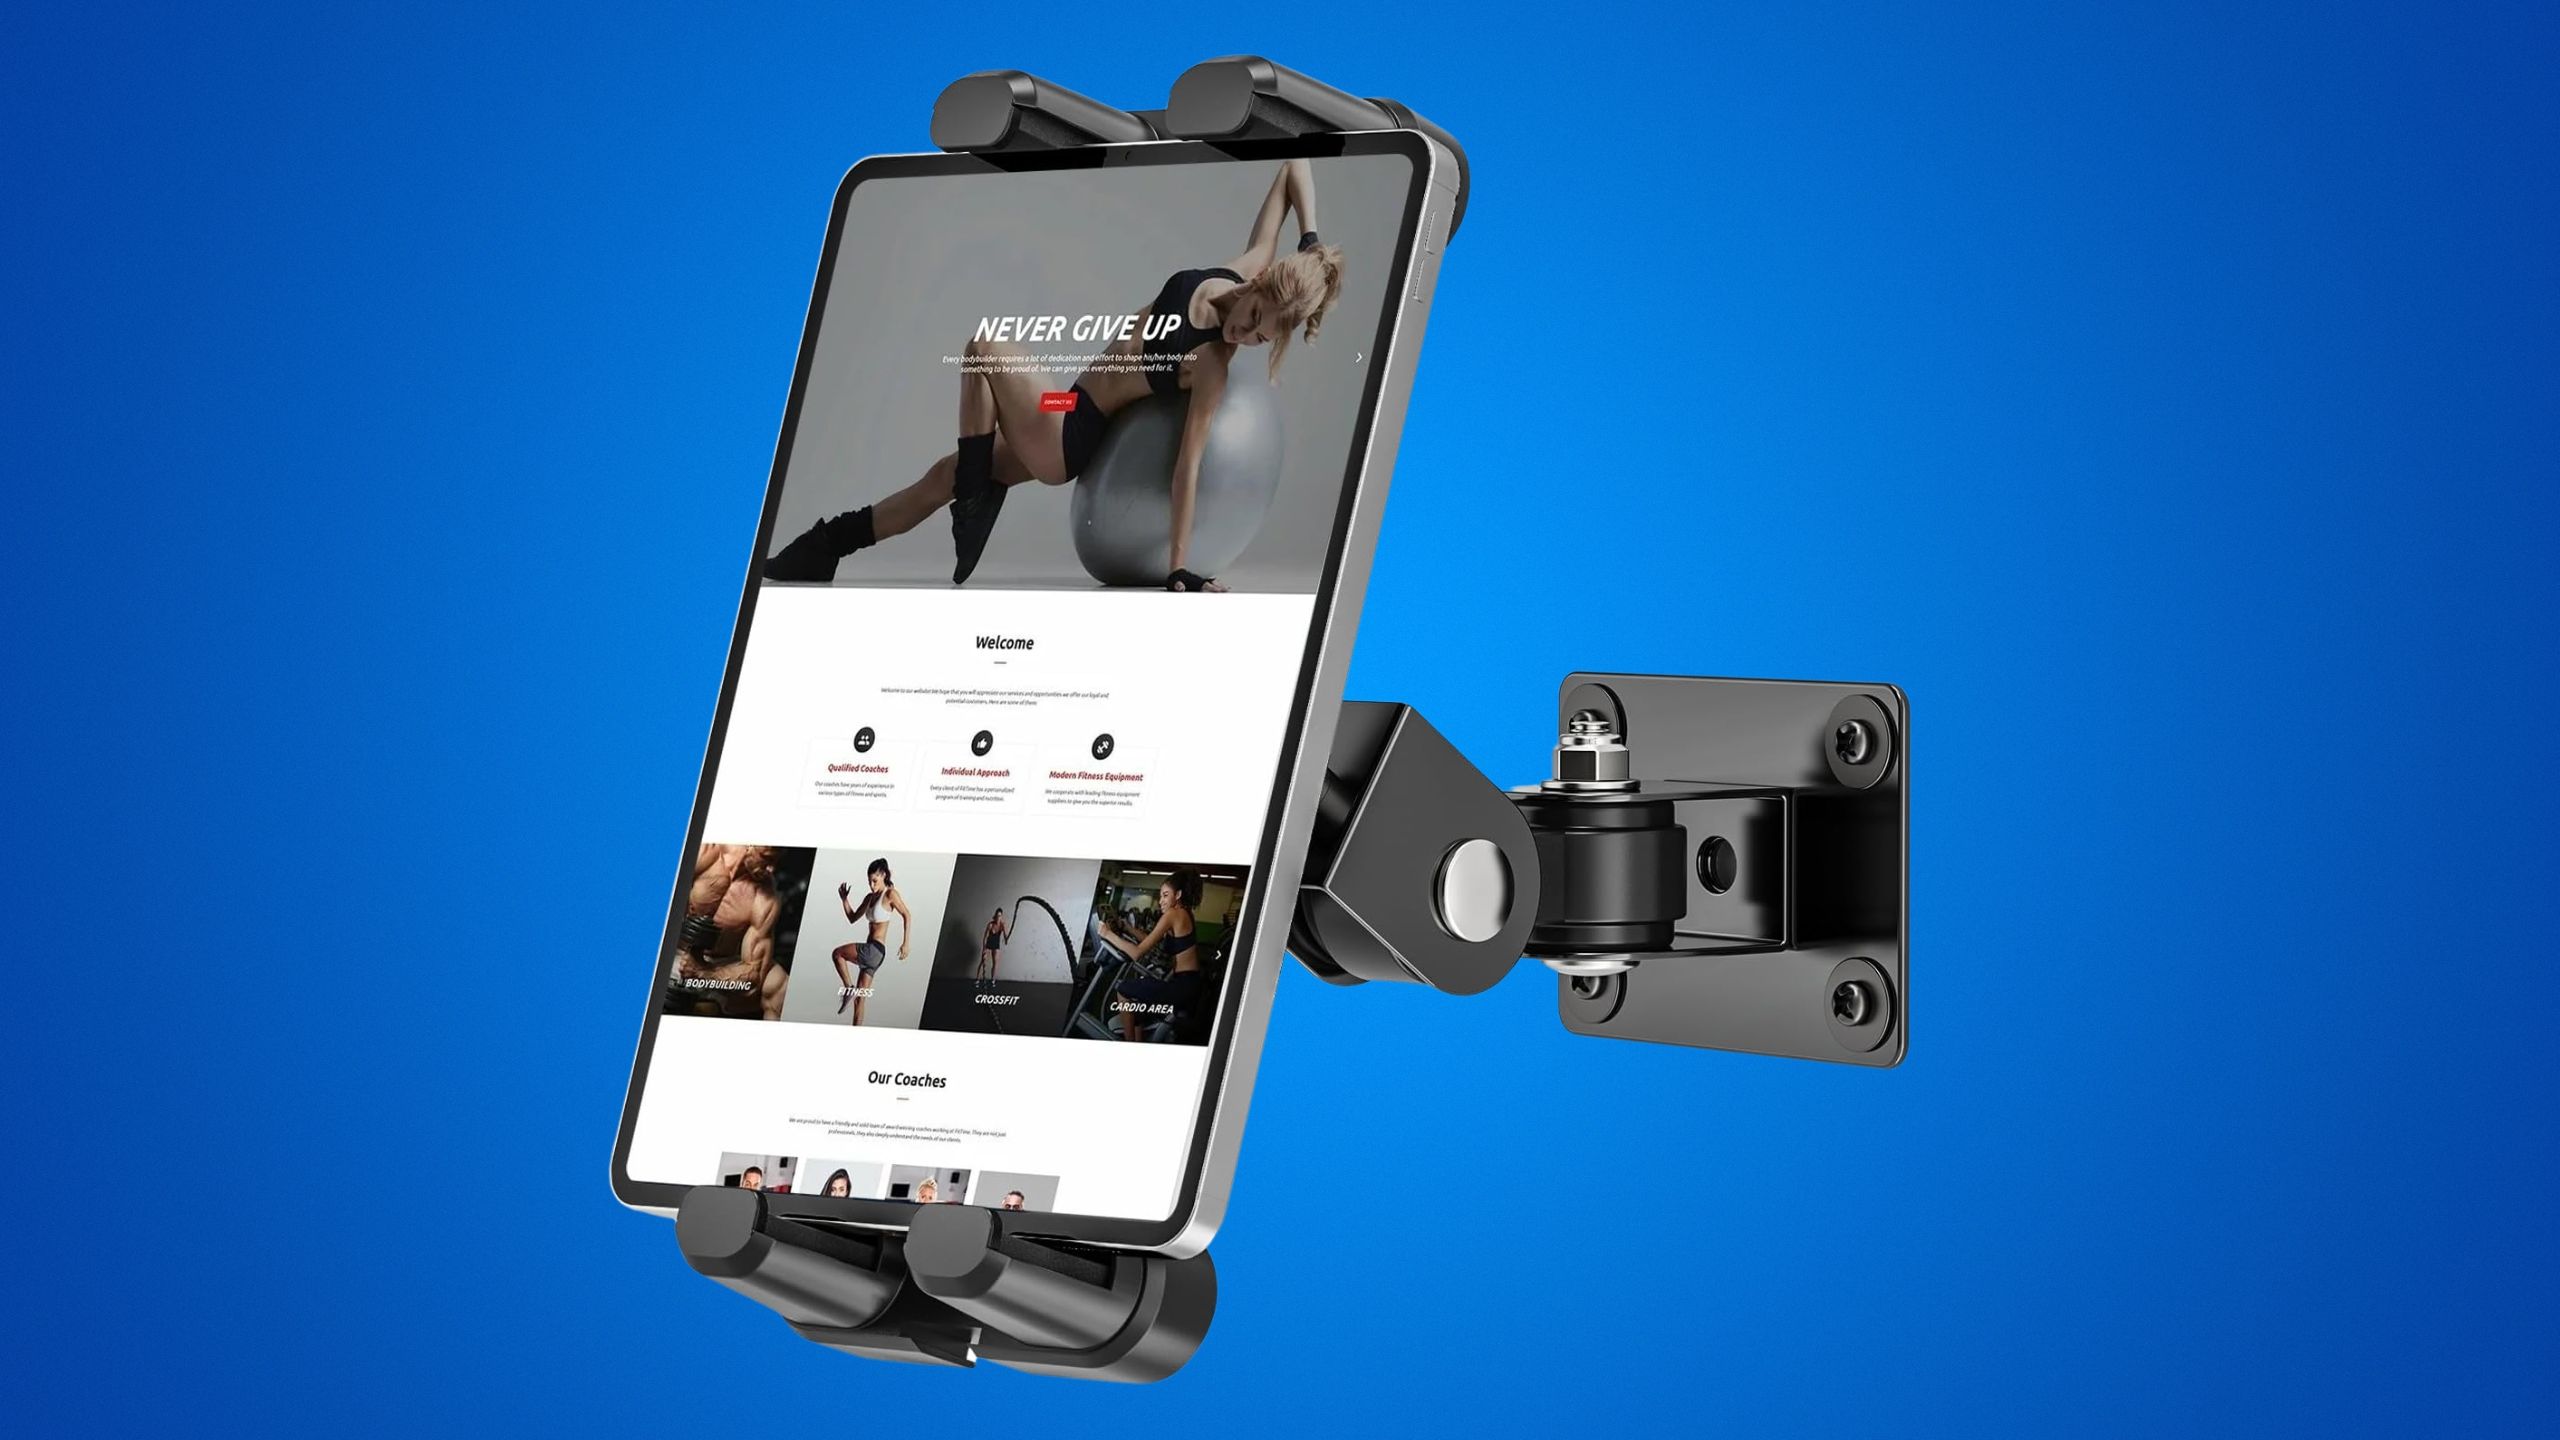
Once your tablet is ready, it’s worth thinking about where you want to place it and how you want to use its smart home controls. Basically, you have two options. You can either set it up as a hard-mounted hub by using a wall mount or go for a more portable setup that you can move from room to room and use a tablet stand.
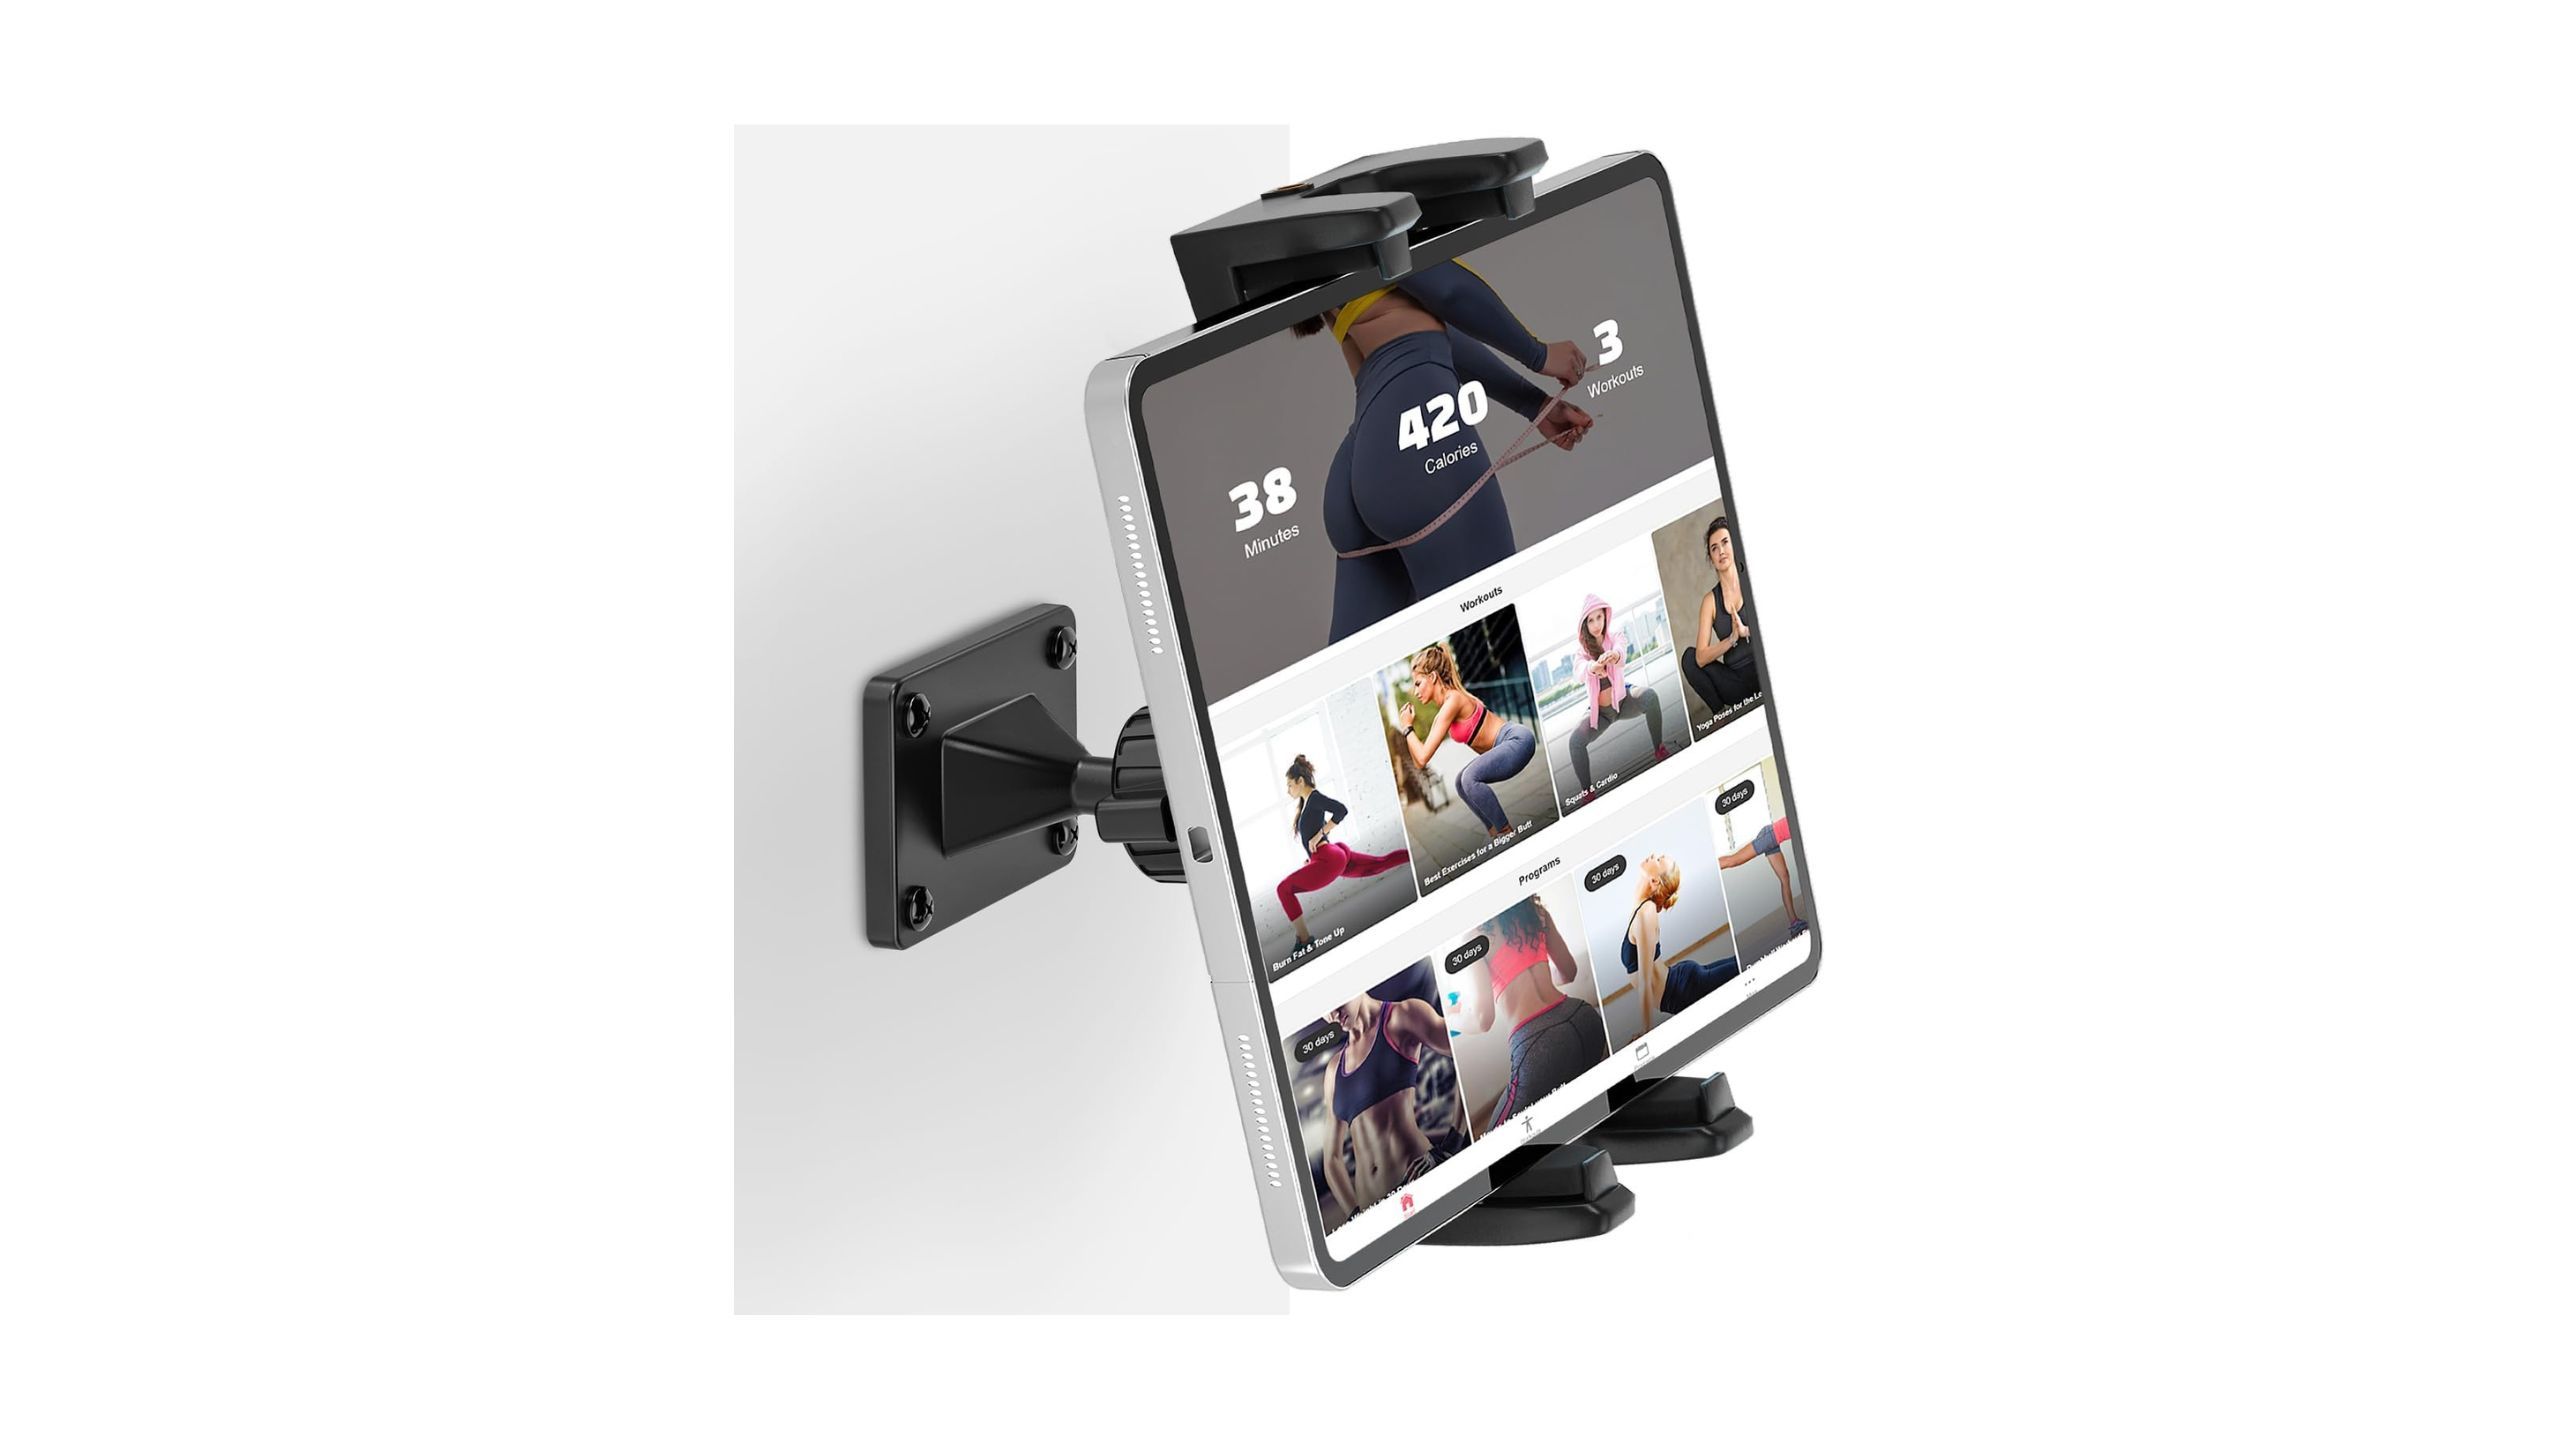
JUBOR Tablet Wall Mount
The tablet wall mount features a sturdy metal base and offers semi-permanent installation on flat surfaces.
If you go for a wall mount, remember that using the tablet as a media player will be much more cumbersome, as you’ll have to take it off the mount each time. However, this solution has its distinct advantages. You can mount the tablet in the most convenient place, making managing all the appliances easy. Plus, it’s possible to mount it on the wall without relying on anything to place the stand on. It’s also a better choice if you want to connect the tablet to a charger permanently — you can wire the cable once, plug it in, and forget about it.
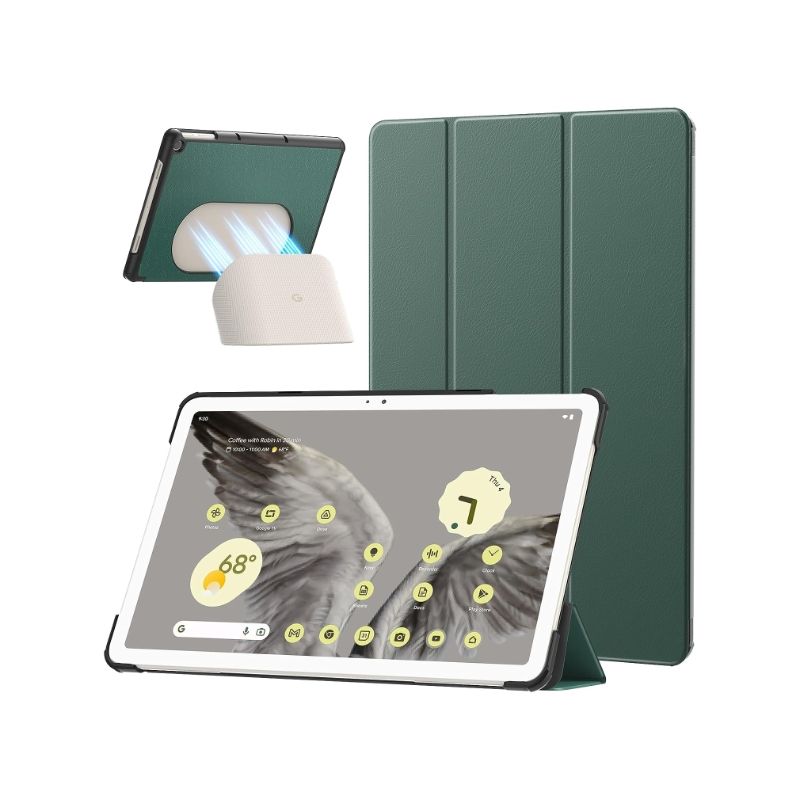
MoKo Slim Trifold Cover Case for Google Pixel Tablet
This trifold case can be set to various viewing positions and features a PU leather build.
On the other hand, using a tablet stand might be more convenient if you still want to use the multimedia functions of your tablet. Tablet stands often rely on just placing the tablet inside them, without any clamps, so you can take the device with you without having to fiddle with the stand. Moreover, there are quite a few tablet cases that double as stands, so you might not even have to buy another piece of equipment if you already have a feature like that. A tablet stand also makes such a smart home hub more portable and lets you take it with you around the house depending on where you’re spending your time at the moment.
FAQ
Q: Can I use a Fire tablet or an iPad as a smart home display hub?
Fire tablets are an excellent choice if you want to get a cheap tablet that can double as your smart home command center. They are really affordable and still run Android, albeit a heavily modified one. Nevertheless, you can use mostly the same apps as the ones we suggested in this guide, or easily find replacements with similar functionalities, so a Fire tablet will work well for this use case.
The iPad is a bit more complicated, as it runs a different operating system. That means you’ll need not only a different voice assistant, and you won’t be able to use Action Blocks, you also will probably have to replace some other apps as well. That being said, all the functions are still there — you’ll just need a bit more tinkering to get your iPad working as a smart home hub and will want to consider using Apple ecosystem products.
Q: Can I use a phone as a smart display?
Even if you don’t have an old tablet hanging around somewhere, almost everyone has at least one phone hidden away in a drawer “just in case.” So, can it double as a smart home hub instead of just rotting somewhere with other electronics?
The answer is — absolutely it can. Of course, the functionality will be a bit more limited compared to a tablet because of the smaller display size, but aside from fewer widgets fitting on the screen, everything in this guide will work for an Android phone as well as for an Android tablet. So, get your phone ready and start managing your smart home in style.
Trending Products

